Woo hoo. Interior almost complete and fitted, including the seats. Just the door cards to do now.

 Registered User
Woo hoo. Interior almost complete and fitted, including the seats. Just the door cards to do now.
 Administrator / Pest
yup. looking amazing again!
on a scale of 1-10 how much of an arriss was it to refit the dash? any tips? im dreading it on ours!
Registered User
It wasn't that hard to be honest. I was very conscious of the fact that if I messed up I would damage the paint. So was very careful. I found it easier with the heater controls removed and going in at around a 45 degree down angle until you meet the screen. Then lower it down lining the mount hole on the metal frame to its position. Then add bolts.
Do you have any plans for your interior or are you keeping it standard?
Administrator / Pest
ahh - fingers crossed it wont be too bad!
yup - our dash is finished and waiting to go back in - its had some trimmings and looks pretty good. i'm currently trying to type up a thread for ours so hopefully i'll get it finished tonight with some pics
Registered User
Type faster, it'll be my bedtime soon.
 Registered User
LOLOriginally Posted by beardo

Beardo, come on as no-one has asked show us a piccie of the rattle can so we can see who makes this wonderful paint.
IMHO the interior work has totally updated your Beat. I was 'hardcore' Beat must be original, but I'm really liking the look of the black interior.
I've got a dash swop planned this year as my original has a nasty split in it, would be an ideal time for some paint!
<<<<<<<VERSION Z>>>>>>
>>>gone, but not forgotten<<<
Registered User
looks great. For what's its worth, 2 years ago when I painted my plastic trim pieces, I 1st applied an aerosol 'plastic paint prep' material. It was essentially a spay adhesive sold at the paint shop. Next the pigment is applied while the adhesive is wet allowing a better bond. And lastly, a few coats of clear coat sealer. This last clear coat prevented minor scratches from removing the pigment. Also, resisted fade from the sun. After 2 years of southern cal sun, no chg.
Also, I installed alot of neoprene washers when re-installing the interior structures and floating trim pieces. This allows expansion/contraction due to heat changes and road surfaces (no cracks at the fasteners), thus removing any squeaks, rattles.
Registered User
Here's the painting process and what I have been using. First of all I clean all of the plastic and on the area to be painted I give it a good scrub with a normal household scourer. This not only cleans it but also keys (roughs it up) the surface ready to take the paint. Then dry thoroughly. After cleaning off any stray dirt, dust, fluff etc. I use a plastic primer (Holts code L118) which is like spraying water onto the plastic. I dry it off with a hair drier. It quickly goes from being wet to leaving a tachy layer on the plastic. This I do twice. Then I apply a matt black paint (Holts L112) 3 times. I haven't bothered with a clear coat as I don't want it to be shiny.
Registered User
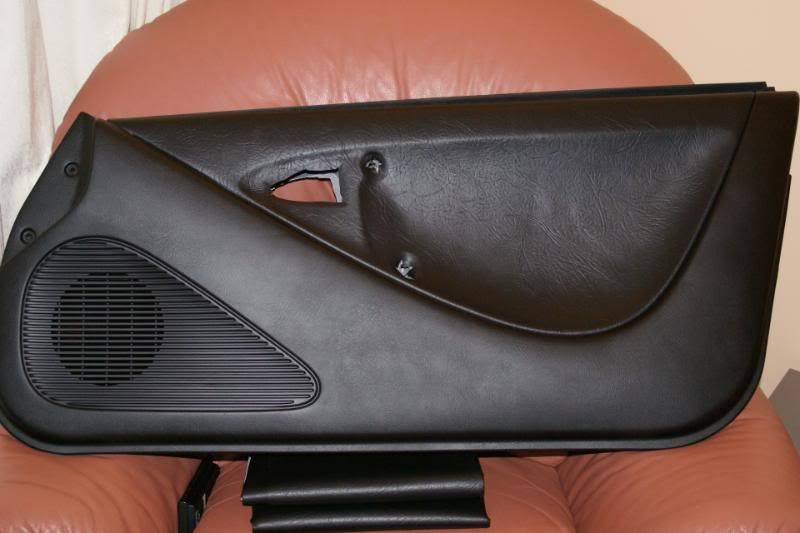
Removed door cards, stripped and cleaned them.
Trimmed the top bit and painted the bottom, looking loads better now.
The interior will be finished tomorrow now.
Registered User
Beardo, what are you doing with things like, the seatbelts
<<<<<<<VERSION Z>>>>>>
>>>gone, but not forgotten<<<
Registered User
No idea at the minute. There are 2 things that are currently staying grey. The seat belts and the sun visors. I have some spare seat belt reals so might attempt to strip and rebuild them with black seat belts. May even attempt to trim the visors with the same stuff I have used for the door cards and dash. We'll see. Other than that the interior is complete now. I am very happy with it.
Registered User
Just read this thread through, very helpful indeed and it looks very smart and modern.
How is the paint finish standing up to use Mark? My interior is looking unloved and will need tlc of some form.
Tom
 Posting Permissions

 Reply With Quote