
All the stuff for this should be here by the end of next week so next weekend means a decent big build upalso good timing to get rid of all the small annoying dings before more paint but it's starting to looking brighter

 Registered User
All the stuff for this should be here by the end of next week so next weekend means a decent big build up
Last edited by Gavin; 09-05-2015 at 06:21 PM.
Registered User
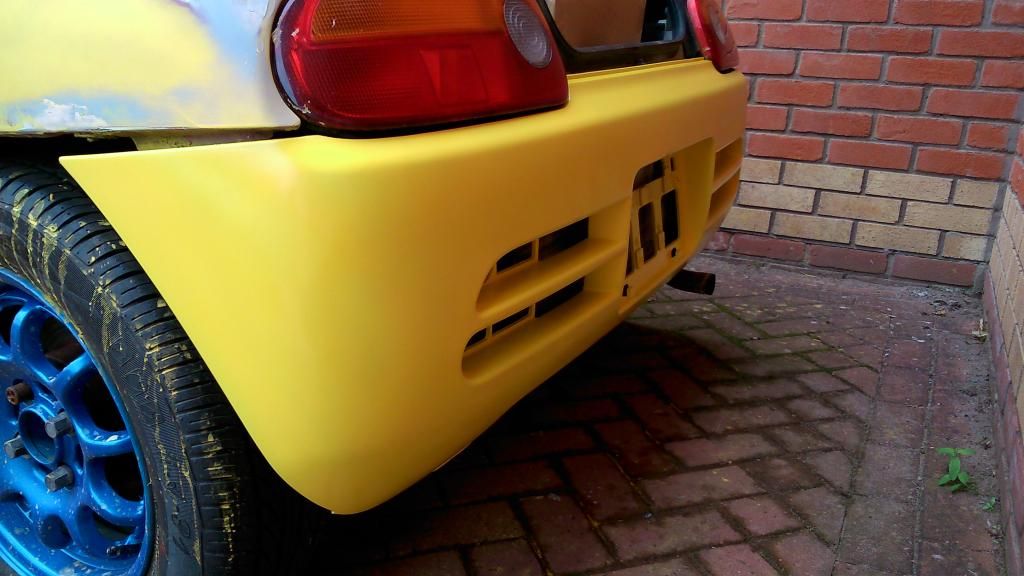
Stuff is in customs so be next week for rest of stuff now but no worries as did most of the wet sanding today and sprayed the rear bumper up which in all honesty came out really well just need a fine wet sand to see if there are any light spots but otherwise the coverage on this looks much better than I thought it would be. White base coat has certainly helped, all being well tomorrow I will do the front wings, door shuts plus the boot.
Last edited by Gavin; 09-05-2015 at 06:22 PM.
 Registered User
That reminds me of many moons ago, my project yellow Beat.
Steve M
__________________
Its all gone Norfolk!!!
Now in the Lotus position.
Registered User
That was from this
To this
I wonder where it is now?
Steve M
__________________
Its all gone Norfolk!!!
Now in the Lotus position.
Registered User
wow that is some shunt but still the repair looks great Steve!
Right on mine today I did the sills and door shuts, not a great job needs sanding in places but it looks ok
Also gave the front bumper a final very fine wet sand before putting down the final coat glad to say this time it's got decent coverage in all areas as per the rear bumper both of which will get a few days to harden a bit before anymore wet sanding to get them smooth.
Also put a bit more paint on rear quarters and they are both coming up quite well so few more weeks and it will be ready to go
Last edited by Gavin; 09-05-2015 at 07:26 PM.
Registered User
Spent more money done a little bit more, with more stuff on the way
Last edited by Gavin; 09-05-2015 at 07:28 PM.
Registered User
Temp steelies on plus more work done again another session of wet sanding to get more smooth, then bumpers and passenger side got done with another coat which was very good coverage that it's not patchy any more plus managed to do the rear latches/boot lid to.
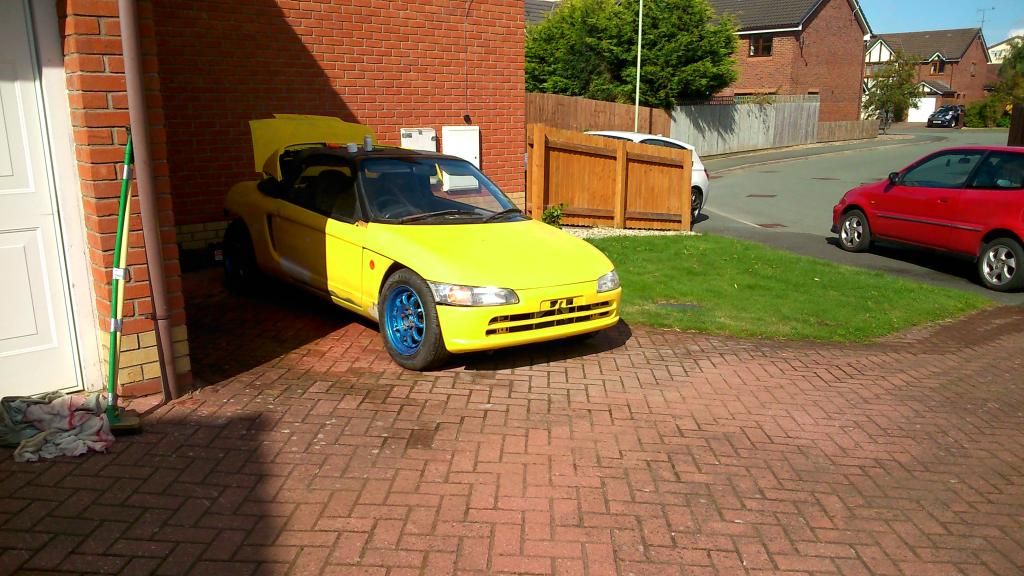
Need more on the drivers side mainly on door and rear quarter as that's where most of the work needs to be done, managed to do the front wing to a level I am happy with to. Going to fit most of the stuff over the weekend hopefully mot in week then trax next weekend as a work in progress 50 shades of yellow machine.
Last edited by Gavin; 09-05-2015 at 07:29 PM.
Registered User
Last edited by Gavin; 09-05-2015 at 07:30 PM.
Registered User
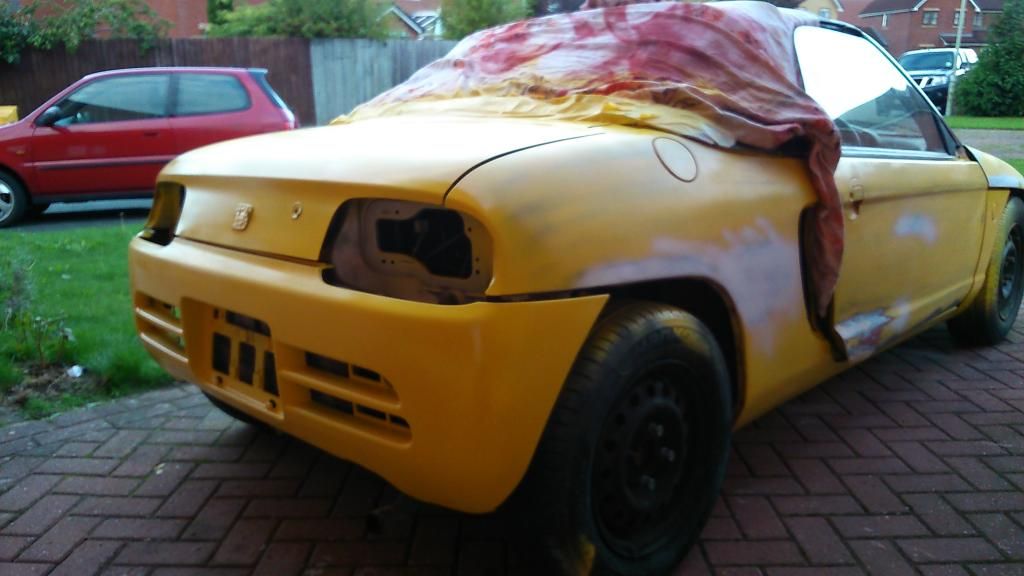
more stuff done, more yellow.
Got the rear lights back in, re-wired one of the reverse lights to act as a fog keep rear end nice and neat I think. Painted the bonnet so it looks a more uniform yellow now also painted the front cross member black, will probably do the whole underside black when I got time.
Mudflaps plus silly tiny mirrors have been fitted, more on the driver side been done to. Cleaned the interior out a bit to, will fit new hood and bolts on Thursday all being well
Last edited by Gavin; 09-05-2015 at 07:31 PM.
Registered User
Last edited by Gavin; 09-05-2015 at 07:31 PM.
Registered User
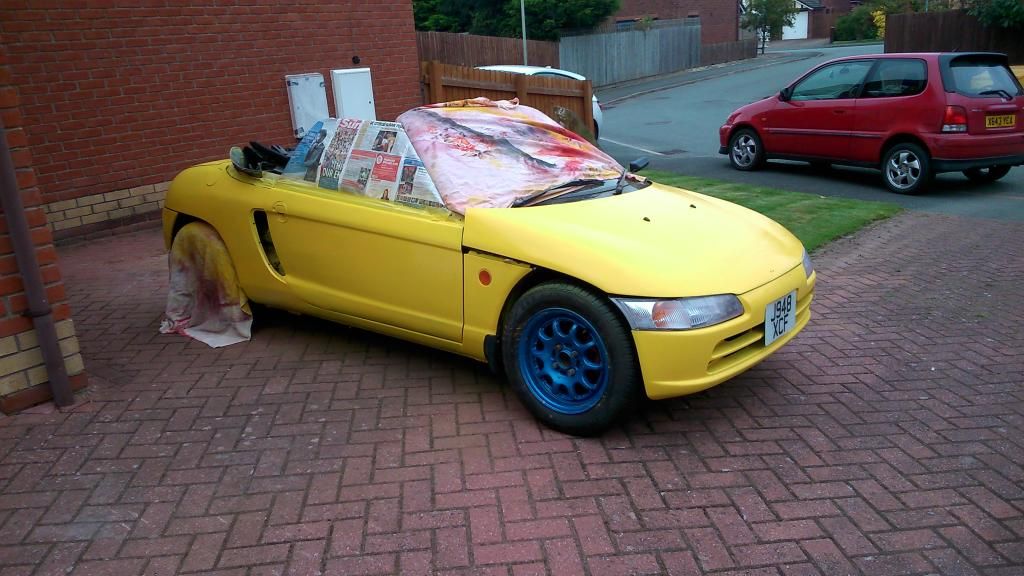
Well you can sort of see stuff lol
More updates as they come will be a few this week
Last edited by Gavin; 09-05-2015 at 07:33 PM.
Registered User
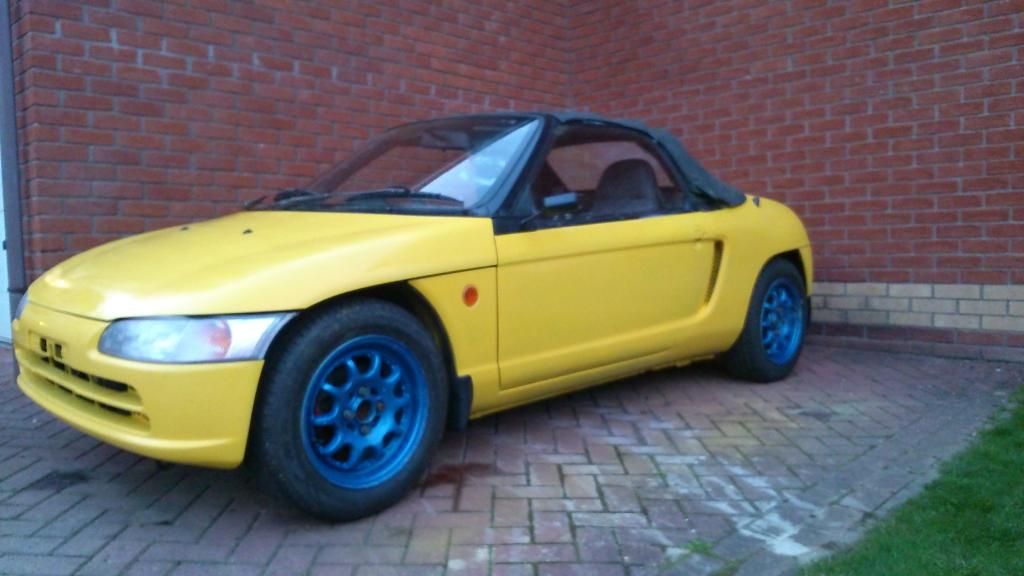
Wheel change pre mot
Last edited by Gavin; 09-05-2015 at 07:34 PM.
Registered User
Mot time
Bit more on the driver side just so its one colour lots of work to be done on this side
Last edited by Gavin; 09-05-2015 at 07:35 PM.
Registered User
Mid Hood change which is actually an ok job to do I think I can probably get it done in about 2hrs next time
Last edited by Gavin; 09-05-2015 at 07:36 PM.
Registered User
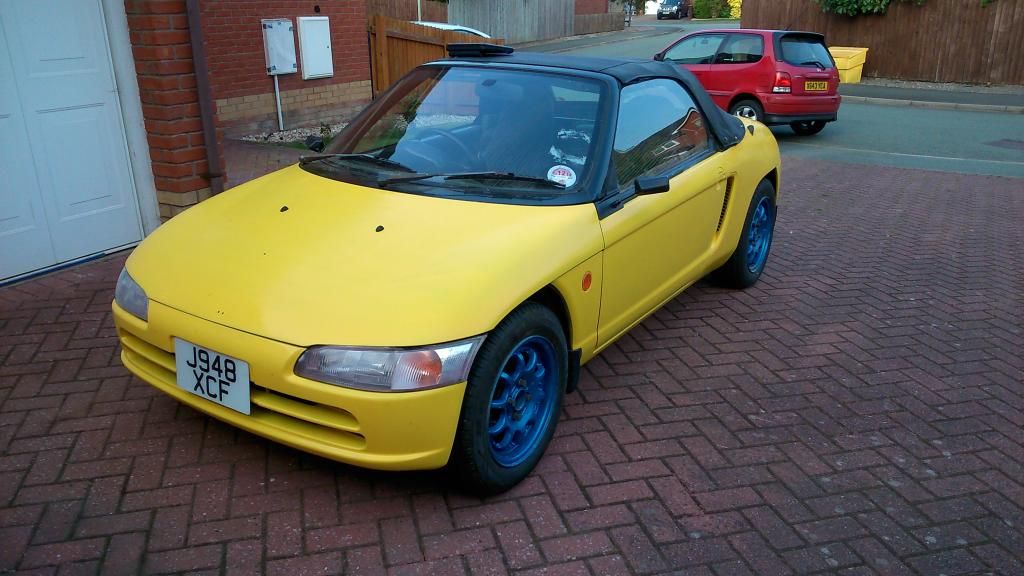
Now everything is current here not much has changed went to trax a few weeks back managed to get there and back fine no problems, although a few things are in the pipeline to improve things. Seeing as temp and fuel gauges are iffy going to fit some after market ones at least then the temp will be more accurate and fuel gauge will gain a low warning light for the last gallon.
Used the car on and off since as rear visibility is dire due to the rear screen not being great think I will get a mx5 screen sewn in, also driving the car to work few weeks back temp gauge was all over the shop got to work found I had a water leak right at where the rear coolant pipes are on the bracket looks to have rotted through which is where it brings use to now!
Spent a few hours this morning removing said pipes which was a pig of a job to do which involved removing everything out the front to get to a few pipes which where not accessible from underneath, rounded heads snapped heads plenty of surface rust etc and this is the result
Going to be getting the pipes made up in alloy integrating temp sensor adapter near the front so in terms of wiring and routing everything will be very easy. Also now I know what I want long term engine wise I'll put money aside for it but get cracking on with developments of the e07a hopefully it should yield some more power and better mpg.
As the norm now more parts are en route
Last edited by Gavin; 09-05-2015 at 07:37 PM.
 Registered User
Really enjoyed reading your posts and seeing the transformation! You should be proud of what you've done mate! Pleased that you've given it a new lease of life. You'll know every inch of it I'm sure inside and wherever! (I can only claim to know the bits the polish touches and a few, very few... it doesn't lol) think I'm too late but did you sell your Gathers head unit? Cheers.
Registered User
Hey, yeah is great I've got this far much better than what it was as the silver paint was properly bad, could say I know it well now lol gather is gone but all being well I may have a HU delete setup sorted so the space where it once was can have gauges or a tiny bit more storageOriginally Posted by gymm

Registered User
LOL everything on it is tiny so finding more space is a bonus! Had a shock the other week with my boot. I keep a thin jacket in it just in case I am out and need it. I opened the boot to put it on and it had been shredded by a mouse (or mice??). My garage backs on to a field so I know it gets 'visited' during the night. Thought they'd be on the shelves not in the Beat. It could have chomped through the CD Changer wire...or worse! Boot carpet unappealing thank goodness. Baited all since and apart from the bait disappearing, all's OK.
Registered User
Managed to wire the amp in today no problem but passenger side speaker keeps working and then not working if everything goes well you would get plenty of space extra in the car
Registered User
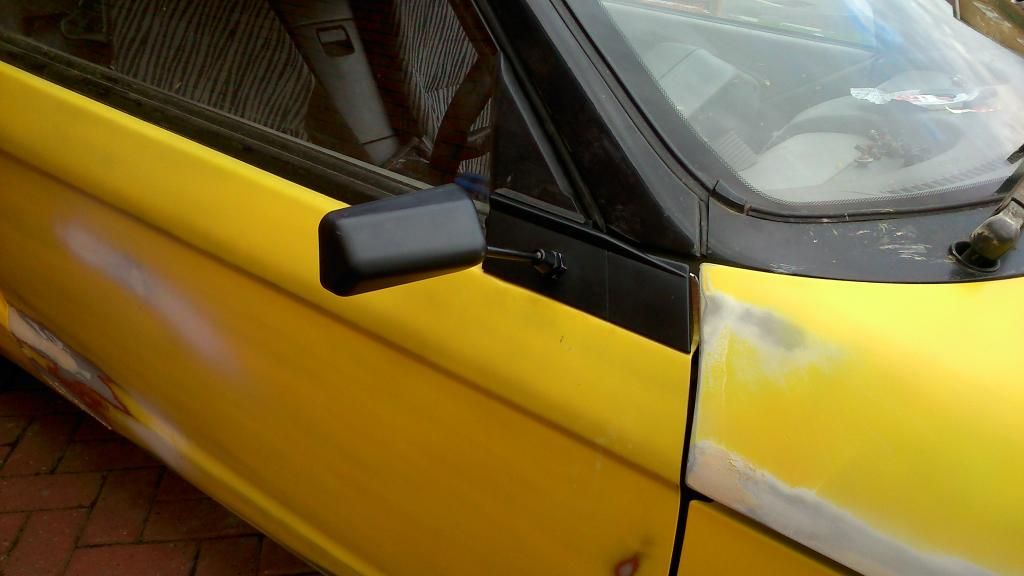
Done the new mirrors satin black they look a million times better than the little ones, just need to fine wet sand it all but ability to see rearward restored lol Also started getting the glue off the doors started with the passenger side with maximum success
 Posting Permissions


 Reply With Quote


